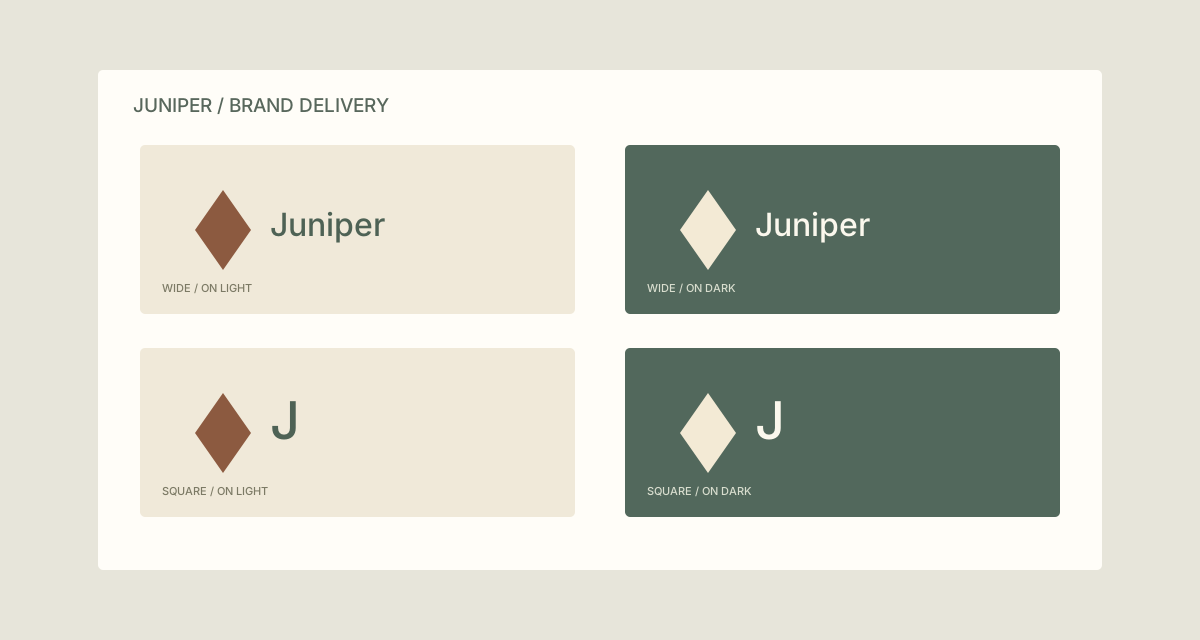
A brand handover can contain four visually similar files that serve four different purposes. Someone preparing a slide deck should be able to pick the right logo without opening every export and guessing which background it was designed for.
Give a fictional Juniper brand’s exported SVGs filenames that explain layout and intended background. This is about the delivery files, not renaming objects inside a design document.
TreatFiles applies the names you provide. It does not check artwork contrast, identify a logo variant or create a new export from the design source.
What the names need to say
Use terms describing where an asset belongs. OnLight means intended for a light background; it does not necessarily mean the artwork itself is light. Agree this distinction in the handover notes so a recipient does not reverse it.
Brand_Layout_Background| Original filename | Proposed filename |
|---|---|
logo export.svg | Juniper_Wide_OnLight.svg |
logo export 2.svg | Juniper_Wide_OnDark.svg |
square logo.svg | Juniper_Square_OnLight.svg |
square logo 2.svg | Juniper_Square_OnDark.svg |
The examples show complete filenames. In TreatFiles’ New File/Folder Name column, normally enter the base name only; the extension is stored separately.
Give each exported asset a clear role
Check the export set visually
Export the approved artwork and inspect each delivery file. Match the old filename to the intended layout and background in a small handover list.
List the delivery folder in Rename mode
Create an XLSX or CSV export in TreatFiles. Keep source design documents and linked project assets outside the folder being renamed.
Describe variants consistently
Fill New File/Folder Name with the intended base names. Use the same Wide, Square, OnLight and OnDark labels across the full set. Keep the .svg extension separate.
Check names against the artwork
Open each file or use your checked export list to confirm the correct mapping. Resolve duplicate exports before deciding whether two files deserve different names.
Rename and package the assets
Re-import the edited file list and apply the rename. Check the resulting assets on their intended backgrounds, then include a short explanation of the naming convention in the handover.
If you need the application controls alongside the example, keep the TreatFiles renaming guide or FAQ and user guide open as a reference.
Related tasks: photo deliveries and video review exports.
The exceptions matter
Names are not color profiles
A filename containing RGB or CMYK does not establish a file’s actual profile. Verify export settings in the design tool.
Do not rename linked working assets casually
A source document or website may refer to an exact filename. This workflow uses a delivery copy, not live project dependencies.
Avoid size labels without a unit
If size matters for raster exports, use explicit pixel dimensions. Do not apply those labels to SVGs as if they described a fixed raster resolution.
A sample to work from
The Design exports tab in this workbook contains the example above. Adapt the idea to your own files, or share it with the people who agree your naming convention.
Download the sample workbook (.xlsx) ↓This is a planning worksheet, not a TreatFiles import file. Generate a rename-ready export in the app, then put your chosen base names into its New File/Folder Name column.
Questions you might have
Does this create light and dark versions?
No. Export the variants in the design application first; this workflow names those existing files.
Can I change .svg to .png in the sheet?
An extension change does not rasterize or convert artwork. Use an appropriate export tool.
Can I use the same rule for PNG files?
Yes, if it fits your delivery. Add meaningful pixel dimensions when you have separate raster sizes and preserve each actual extension.
About the tool used here. TreatFiles lists files, exports them to a spreadsheet, and applies the names you prepare. Explore TreatFiles or find it on Microsoft Store ↗.